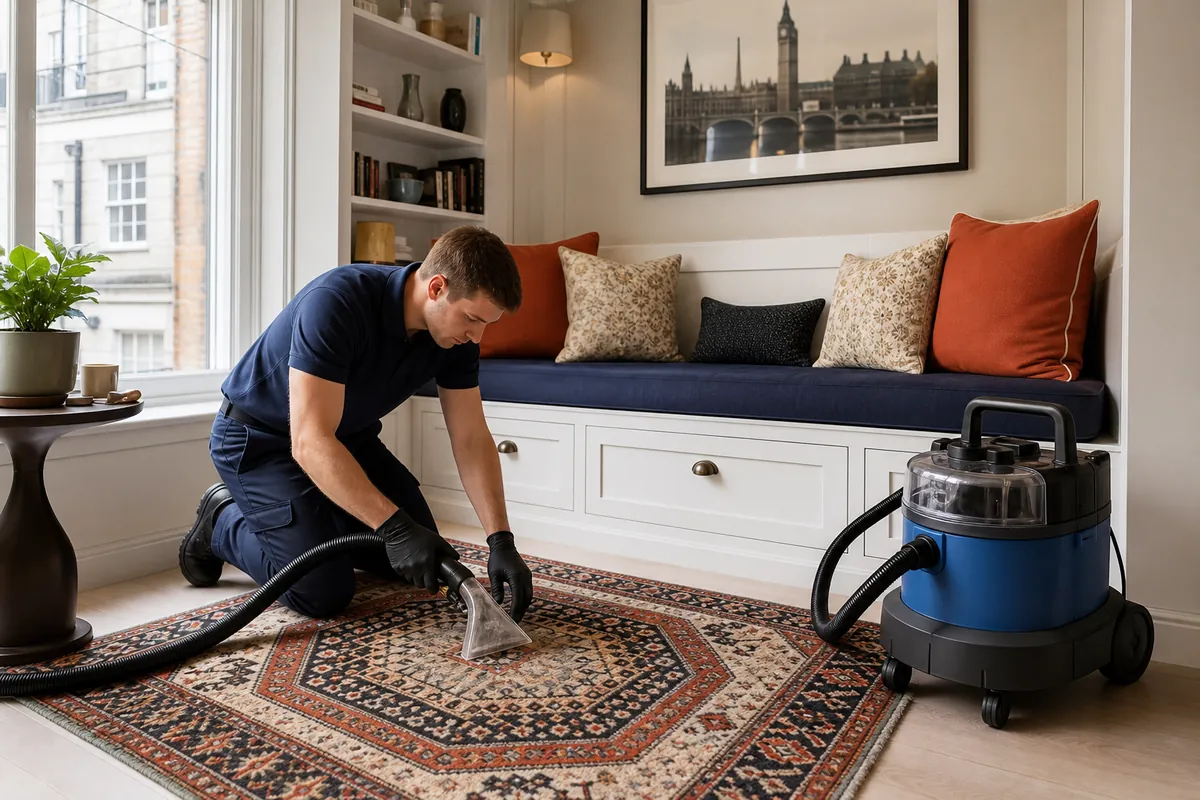
1. Give the room-work context
Send a whole-rug view, close photographs of concerns and the available care wording. Explain when the work happened and whether more dust-producing activity is planned. This helps plan cleaning around the room’s use and any remaining disturbance.
Identify products or substances known to have reached the item. Fine loose dust, a sticky splash and a changed patch are different observations. If the material is unknown, leave that clear rather than naming it from colour alone.
2. Organise access after the working area changes
Describe furniture, coverings and remaining equipment around the rug. Agree who will clear the approach and which sections are included. Do not pull a large textile out from beneath heavy items or scrape a covered area solely to provide another image.
- Keep packaging details for known nearby products.
- Explain any remaining work that could affect the cleaning area.
- Clear safe small obstacles after movement responsibilities are agreed.
3. Assess the rug before selecting the process
Inspection considers the pile, supporting materials, colour response and current condition. A covering used during room work does not establish the absence of every deposit, while a robust-looking surface does not select the cleaning method. Discreet checks inform compatibility.
Show repairs, loose edges and any earlier reaction to cleaning. The recommended route should fit the complete item, with local concerns and wider soiling considered together. Ask how practical room restrictions affect the setting without letting them override the textile’s requirements.
4. Leave adhered specks for an informed decision
Explain any attempt to brush, scrape or dissolve a spot and what changed afterwards. A resistant particle can be attached material rather than ordinary loose soil. Inspection helps decide whether further local attention has a worthwhile purpose.
Avoid adding a household solvent or mixture to identify it. Material-specific advice is more useful than a fresh experiment that changes the pile. Agree realistic improvement, especially where previous work or removal attempts may have altered yarn or colour.
5. Make dry preparation serve the later treatment
Appropriate removal of accessible loose particles gives the following cleaning stage a clearer task. Equipment and working action need to suit the construction, especially around loops, fringe and vulnerable edges. Individual adhered concerns then receive attention guided by the findings and known history.
Selected broader cleaning releases soiling for removal through a compatible process. Where water fits, controlled application and recovery work with support and drying. A lower-moisture route needs suitable recovery too. The useful sequence addresses different forms of contamination rather than treating extra liquid as a substitute for preparation.
6. Keep the cleaned rug clear during aftercare
Discuss where the rug can remain and any limits on airflow or room access. Follow the conditions for placement and normal use after the selected treatment. Mention planned movement or remaining room work before arrangements are confirmed.
Review the finish at the recommended stage against the initial concerns. A temporary damp shade can complicate an immediate comparison, while an adhered spot may retain a different expectation from the broader soil removal achieved.
7. Quote for a defined condition and scope
Provide size, access information and the known contamination account. Confirm which local concerns and wider cleaning are included, leaving inspection-dependent questions visible. Another activity changing the room or rug before the appointment should be communicated.
At handover, keep findings and guidance with the starting photographs. Distinguish the work completed from an excluded or unresolved spot. This creates a useful reference if later room work introduces fresh dust or another deposit.
8. Return to routine particle control
Follow the advised routine for removing loose particles from this rug. If more work is planned nearby, discuss practical protection and cleaning timing rather than repeatedly treating the same section between activities. Record a new deposit before attempting removal so it is not confused with an earlier concern.
- Avoid catching loose ends during routine vacuuming.
- Keep product identities from later room work where available.
- Photograph a newly adhered spot before discussing material-specific advice.